
I spend most of my days in Ruby, Elixir and Emacs, building web apps, small libraries and editor tooling. So when a CrunchLabs HackPack Label Maker landed on my desk, it was pure novelty: a little machine that writes on sticky tape with a felt pen, driven by an Arduino Nano.
It worked out of the box, but two things nagged at me almost immediately. So I did the thing I always do and opened the firmware “just to fix that.” By the time I looked up, the same machine could print text, draw framed Aztec friezes, act as an Etch-A-Sketch, and plot spirographs and Lissajous figures. Five modes, all on the same little board.
Everything is on sr.ht if you want to skip ahead.
It’s a tiny pen plotter
Once you look past the label-maker framing, the machine is a two-axis pen plotter. Two 28BYJ-48 steppers move it: one feeds the tape (call it X), one raises and lowers a lead screw that carries the pen (Y). A servo presses the pen onto the tape or lifts it off. Draw a shape by walking both motors along a straight line, Bresenham style, with the pen down.
The part I found charming is how the stock code stores letters. Each glyph is a little list of moves on a 5×5 grid, packed into one integer per point:
// value = (draw? 100 : 0) + x*10 + y   with x, y in 0..4
int draw = 0;
if (v > 99) { draw = 1; v -= 100; }
int cx = v / 10;        // tens  = x
int cy = v - cx * 10;   // ones  = y
line(cx * x_scale, cy * y_scale * 3.5, draw);
Hundreds digit: pen down or not. Tens: x. Ones: y. A whole font in a table
of small numbers. The 3.5 is a fudge factor: the Y lead screw travels less
per step than the X wheel, so you multiply Y to keep circles from coming out
as eggs. I would end up leaning on that same number a lot later.
Every stroke, whether it’s the leg of an “A” or one segment of a curve, goes
through a single line() that works out how many steps each motor owes and
interleaves them so the pen tracks a straight diagonal. Get that one function
right and everything else is just deciding which points to feed it, which is
why the same routine could later draw spirographs unchanged.
There’s also almost no room to work in. On an AVR that glyph table lives in RAM rather than flash unless you go out of your way, so the full font left the text firmware sitting at 84% of the Nano’s 2 KB, with the compiler warning me about it on every build.
The two fixes I actually wanted
The first annoyance was editing. The screen is 16×2, and the stock firmware only used one line with no scrolling, so anything past fifteen characters was typed blind. I rewrote the editor to spread across both lines and scroll a window that always keeps the cursor in view. A small change, but it made the machine far nicer to use.
The second was the real one. The tape only goes around once. Try to print a long label and the machine happily writes straight over the beginning again, because the reel has come back around. You can’t fix that in software, but you can work with it: print until you have used a tape’s worth of travel, then stop and ask for help.
if (pos > 0 && pos + space > MAX_SEGMENT_STEPS) {
  pauseForCut();   // feed the tape out, show "CUT", wait for a click
  pos = 0;         // fresh tape: the origin resets to here
}
pauseForCut() lifts the pen, feeds the printed part out, prints CUT on
the screen, and blocks until you click the joystick. Cut the strip, click,
and it carries on with the rest of the message on fresh tape. Labels can now
be as long as you like, in segments. The same trick gave me a free
pause/resume: a click mid-print stops the pen where it is and waits for
another click to continue.
The gremlins
This is the part I enjoy the most in any hardware project: the failures are so much more physical than a stack trace.
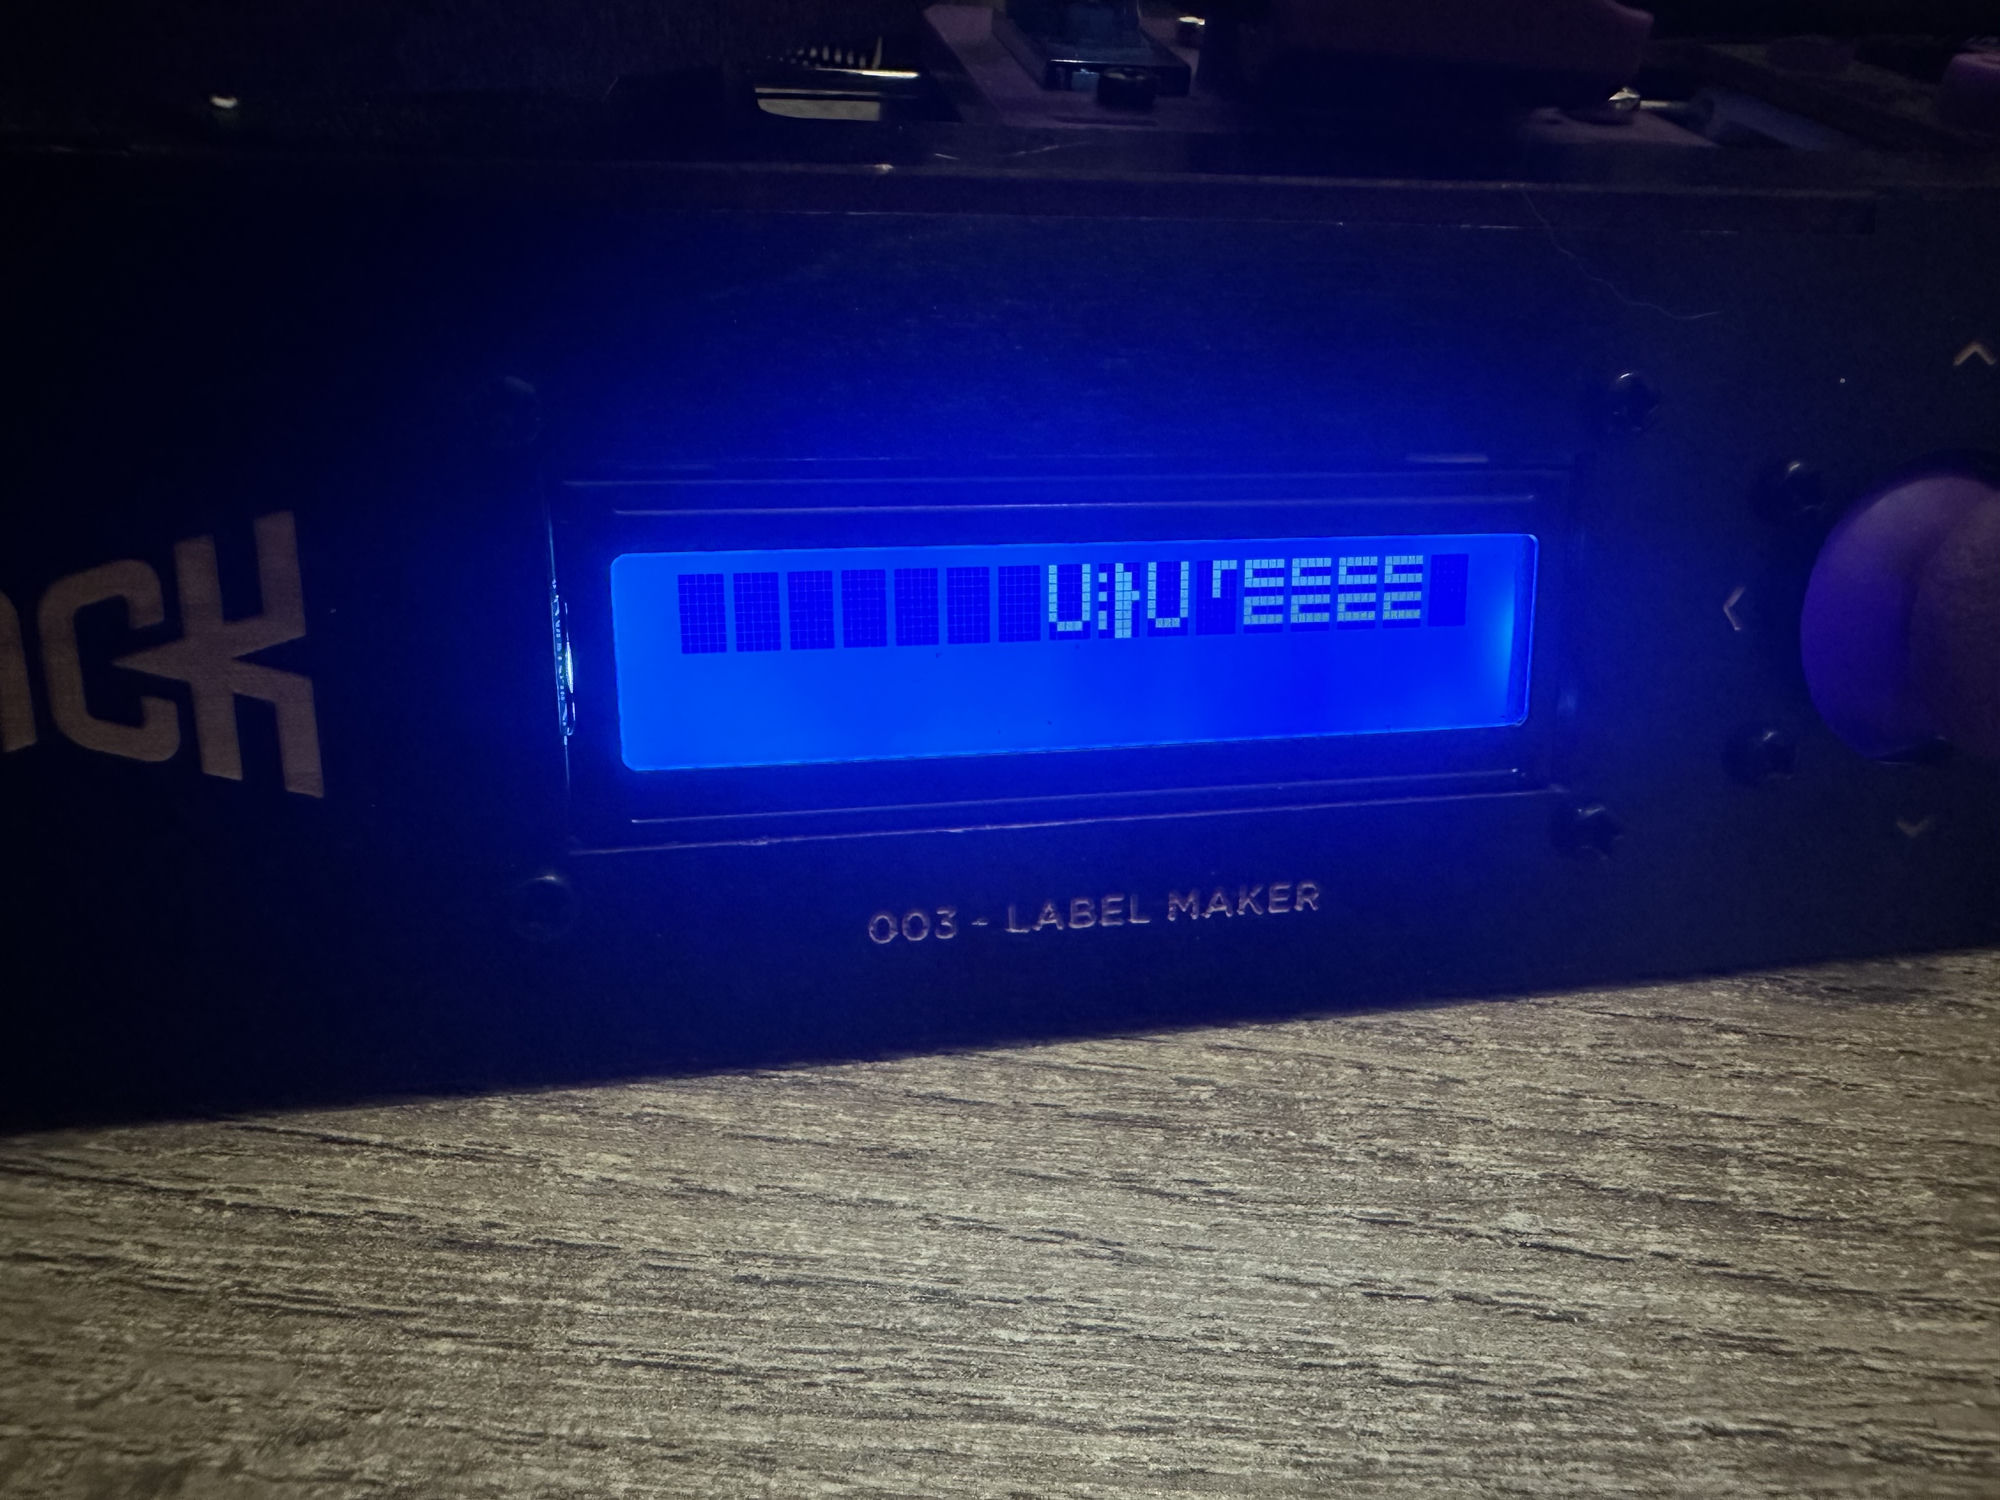
First, the screen started showing what looked like garbled Cyrillic. An HD44780 over I²C will happily lose its configuration when the steppers throw electrical noise around, and once it does, every write after that is nonsense. The fix is blunt: re-initialise the display right before each message, at a moment when the motors are idle.
Then, while testing, I had the board print a sample on boot. On USB power alone that turned into an infinite loop: two steppers and a servo starting at once sagged the voltage enough to brown out and reset the Nano, which re-triggered the boot print, which browned out again. It “printed forever” until I plugged the laptop into the wall and gave the port more current.
A subtler one made me respect debouncing all over again. I added a click-to-pause during a print, and it worked, except a single click paused and then un-paused a quarter of a second later, every time. The cause was my own doing: the very press that triggered the pause was still being read when the resume check ran, so one click counted as two. The fix was to redefine “a click” as a full press, release, and press again rather than a single edge. Obvious in hindsight.
But my favourite was the spirograph. The first attempt drew a single vertical line, dead centre, full height. I stared at it, decided the tape-feed must have terrible backlash, and wrote a whole motor-isolation test to prove it. The test moved X on its own, then Y on its own, with clear labels on the screen.
That’s when it clicked, in every sense: I had never engaged the tape reel. The pen was sweeping up and down beautifully over a strip that physically could not move. There was nothing wrong with the code at all. I clicked the reel into place, re-flashed, and the rosette came out perfectly. An hour of “backlash” theory undone by a mechanism I forgot to latch.
Then it started making art
With text sorted, the drawing engine was too tempting to leave alone.
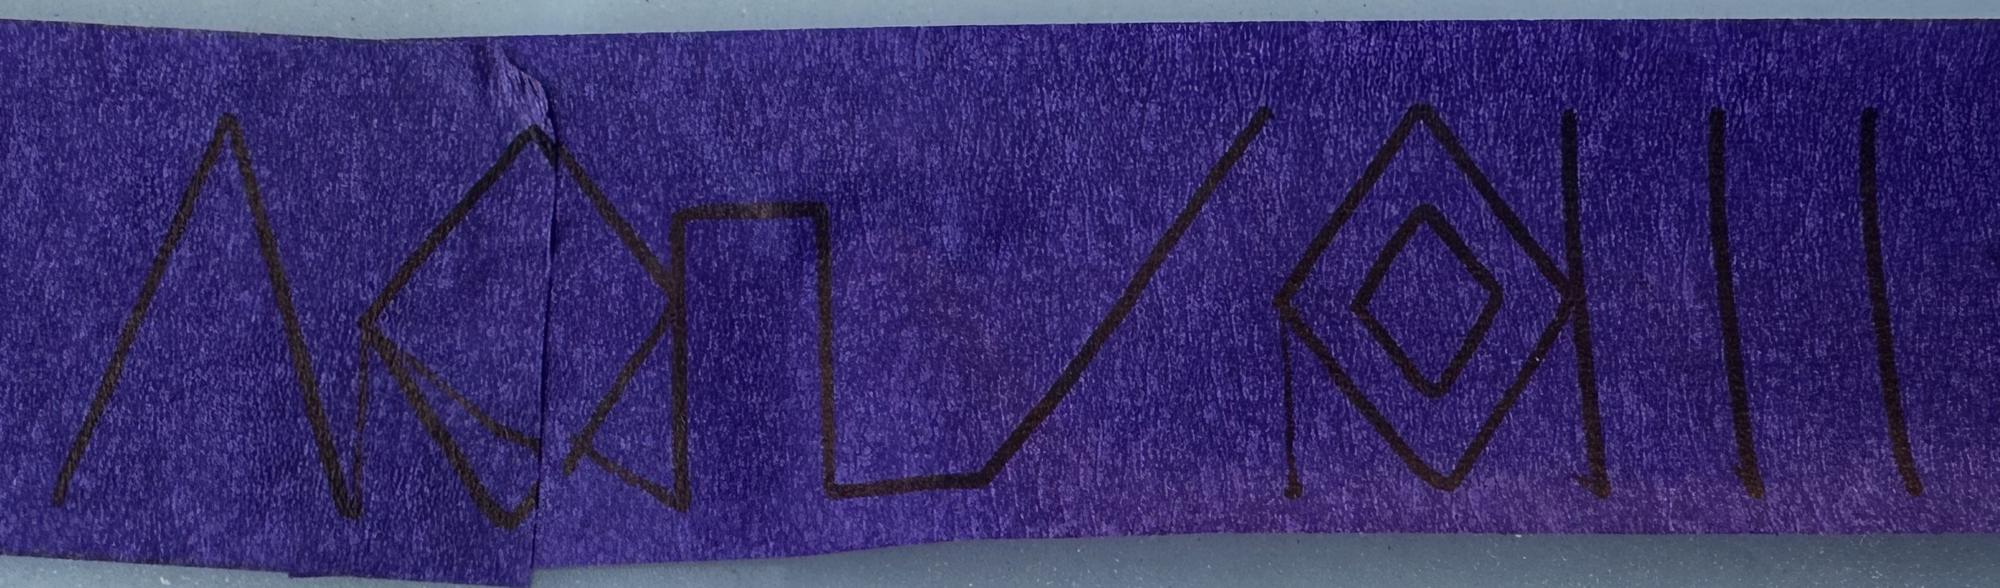
Aztec friezes came first. The glyph table already knew how to draw arbitrary line shapes, so I swapped the letters for geometric motif tiles — chevrons, diamonds, battlements, a Greek fret spiral. The one detail that mattered was spacing. Letters advance five grid units per character to leave a gap between them, but a frieze wants no gap, so tiles advance exactly four, the width of the grid, and their edges meet. Each tile then also draws a short top and bottom segment, and because the tiles abut, those segments join into two unbroken rails that frame the whole ribbon. You pick a motif on the joystick, repeat it, and print a border.
Then an Etch-A-Sketch, which barely needed any new code: let the joystick drive the pen in real time and the button toggle it up and down. Suddenly the plotter is a toy you draw on by hand.
And then the maths, where the same line() really paid off.
A spirograph is just a
hypotrochoid sampled point by
point and connected with short segments:
for (float t = 0; t <= tMax; t += 0.03) {
  float cx = (R - r) * cos(t) + d * cos((R - r) / r * t);
  float cy = (R - r) * sin(t) - d * sin((R - r) / r * t);
  line(centerX + cx * scaleX, centerY + cy * scaleY, first ? 0 : 1);
  first = false;
}
Six presets, different R / r / d, different numbers of petals. Once that
worked, Lissajous figures were a one-line change of equations — two
perpendicular sine waves instead of two rolling circles:
float cx = sin(a * t + HALF_PI);   // = cos(a*t)
float cy = sin(b * t);
Same loop, same motors, a completely different family of shapes: figure eights, knots, oscilloscope-style grids.
Driven from the terminal
I never opened the vendor IDE for any of this. Everything went through
arduino-cli: install the AVR core and the four libraries once, then compile
and upload from the shell.
arduino-cli compile --fqbn arduino:avr:nano LabelMakerSpiro
arduino-cli upload  --fqbn arduino:avr:nano -p /dev/cu.usbserial-XXX LabelMakerSpiro
Each mode is its own sketch folder in the repo, so flashing one is just pointing the command at a directory. Files under Git, a two-line compile-and-flash loop, the same workflow I like everywhere else. It made iterating on a physical machine feel exactly like iterating on code, which is most of why it stayed fun.
Where it landed
A cheap kit meant to print stickers now writes labels, draws Aztec borders, doubles as an Etch-A-Sketch, and plots maths, and none of that was in the plan. Each fix left the machine a bit more capable than the problem in front of me actually needed, and the little drawing engine turned out to be far more general than the labels it was written for.
The constraints are what made it enjoyable. One felt pen, a 5×5 grid, a tape that only really feeds one way, and 2 KB of RAM. Working inside that is a nice change from a world where I can just add another dependency. And watching it slowly ink a rosette out of a bit of trig never got old.
The code, all five modes, is here if you have one of these kits and fancy teaching it a few new tricks.
Have comments or want to discuss this topic?
Send an email to ~bounga/bounga.org-discuss@lists.sr.ht